In today’s digital world, images are everywhere. But did you know that the average webpage loads about 50 images? That’s a lot of data to handle!
WebP, a modern image format, helps reduce file sizes by up to 30% compared to JPG or PNG. However, not all devices or software support WebP yet.
You might find yourself needing to convert WebP images to more common formats like JPG or the other way around. Maybe you’re working on a project that requires a specific file type, or you’re trying to save space on your device. Whatever the reason, image conversion doesn’t have to be complicated.
This article will guide you through five straightforward methods to convert WebP to JPG and back, whether you’re using a Mac or Windows computer.
From online tools to desktop applications and even some built-in shortcuts, you’ll discover options that suit your needs and skill level. Let’s dive in and make image conversion a breeze for you!
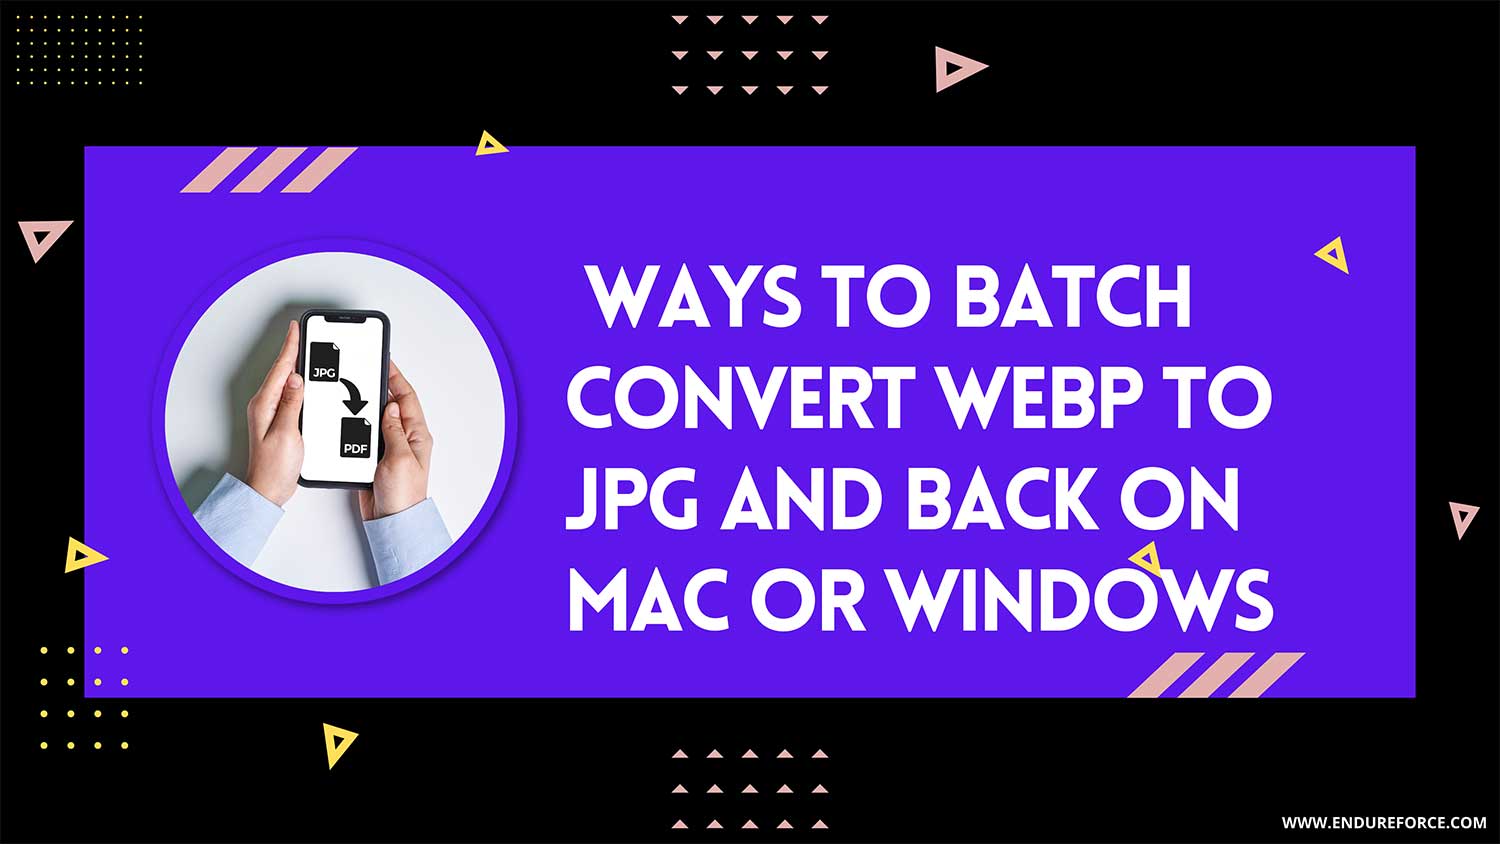
Convert WebP to JPG and Back: 5 Easy Methods for Mac and Windows Users
Here are five easy ways to convert your images, whether you’re on a Mac or Windows:
1. CloudConvert: Your Online Conversion Buddy
Sometimes, you just need a quick fix without installing anything. That’s where CloudConvert comes in handy.
- Step 1: Visit CloudConvert’s website.
- Step 2: Click on Select File to add your images or simply drag and drop them onto the page.

- Step 3: Choose what format you want your images to be in JPG? or PNG?

- Step 4 : Click on Convert to start the process.

- Step 5: A new window will pop up. Click on Download to save your converted image.

CloudConvert is great for one-off conversions and even handles video formats. No fuss, no muss!
2. Mac and iPhone Shortcuts: Convert with a Click
If you’re an Apple user, you’re in luck. The Shortcuts app makes conversion a breeze.
- Make sure you’re on macOS 12 or later.
- Download the WebP Converter Shortcut (use Safari for this).

- Press Command + Spacebar. Then, search and open the Shortcuts App in Spotlight.

- Find and Double-click on WebP Converter Shortcut

- Now click on “Share Sheet, Quick Actions.”

- Then check the Finder option under Use as Quick Action. If it’s already checked, it’s good.

- Now Right-click any image and pick “Quick Action > WebP Converter“.

It’s like having a magic band for your images. Plus, you can tweak the shortcut if you’re feeling adventurous.
3. WebPconv: Windows-Friendly Conversion
Windows users, meet your new best friend: WebPconv.
- Step 1: Install and Open WebPconv on your Windows computer.

- Step 2: Time to add images! Click the plus icon to select WebP images or drag them into the app.

- Step 3: Choose the output format from the dropdown menu.

- Step 4: Once your images are lined up, hit the Convert button to start converting.

WebPconv keeps things simple but still gives you room to play with advanced settings if you want.
4. XnConvert: The Swiss Army Knife of Converters
Need something that works on any computer and does more than just convert? XnConvert has your back.
- Step 1: Download and open XnConvert on your computer, no matter if it’s Windows, Mac, or Linux.

- Step 2: Add your WebP images. You can either select individual files or entire folders.

- Step 3: Now click on Output for the options like output format and other image settings.

- Step 4: Choose your output format. XnConvert supports a ton – from WebP to JPG, PNG, GIF, PSD, RAW, and many more.

- Step 5: Under the Output tab, you can fine-tune settings like compression method and file naming.

- Step 6: After finalise all the things. Click on Convert and choose the path where you want to save the file.

But wait, there’s more! XnConvert lets you edit images, too. Resize, crop, add watermarks – it’s all there.
5. FFmpeg: For the Command Line Connoisseurs
Let’s dive into the world of FFmpeg, a powerful tool for handling media files. Don’t worry if you’re new to command-line stuff – I’ll walk you through it step by step.
#1 Installing FFmpeg on Windows
- Step 1: Download FFmpeg from the official website.
- Step 2: Unzip the file and copy the .exe files to
C:\Users\{yourname}. - Step 3: Open Command Prompt (press Windows + R, type “CMD”, hit Enter).
- Step 4: Navigate to your image folder in Command Prompt:
Cd {file path}. - Step 5: Convert an image with this command:
ffmpeg -i homescreen.webp output.png.
Pro tip: Use quotes for filenames with spaces: ffmpeg -i "home screen.webp" "output.png".
- Batch convert PNG to WebP: Use
for %i in (*.png) do ffmpeg -i "%i" "%~ni.webp". - Create a batch file: Make a .txt file with this code, then save it as .bat:
@echo off for %%i in (*.webp) do ffmpeg -i "%%i" "%%~ni.png"
#2 Installing FFmpeg on Mac
- Step 1: Install Homebrew first:
/bin/bash -c "$(curl -fsSL https://raw.githubusercontent.com/Homebrew/install/HEAD/install.sh)" - Step 2: Install FFmpeg:
brew install ffmpeg
Batch convert JPG to WebP: Navigate to your folder in Terminal and run: for f in *.jpg; do ffmpeg -i "$f" "${f%jpg}.webp"; done
FFmpeg might look tricky at first, but it’s super powerful. Whether you’re a tech geek or just curious, it opens up a whole new world of possibilities for handling your media files. Ready to give it a shot?
The takeaway
Converting between WebP and JPG formats doesn’t have to be a headache. With the methods we’ve explored, you can easily handle your image conversion needs on both Mac and Windows systems.
Whether you prefer the simplicity of online converters like CloudConvert, the convenience of Mac shortcuts, or the power of desktop applications like WebPconv and XnConvert, there’s a solution that fits your workflow.
For those comfortable with command-line tools, FFmpeg offers unparalleled flexibility and batch-processing capabilities.
Remember, the best method for you depends on your specific needs. Consider factors like frequency of use, the number of images you typically convert, and any additional editing requirements.
You’re now equipped with the knowledge to handle WebP and JPG conversions confidently. So go ahead, put these tools to work, and make your image management tasks smoother than ever!